Im working on a new purse with a super cute new bird cage fabric I just got! Luv it!
Wednesday, September 19, 2012
Friday, September 14, 2012
Whoot whoot!
Excited to announce I am currently in the process of having someone design my blog to make it all professional & stuff ;-) ! Super excited!
XOXO,
Jess
Wednesday, September 12, 2012
Re furbished vanity chair
Update on my refurbished vanity chair! Just got to go pick out the fabric to re cover it and it will be done WHOO HOO! Here's what I've done do far. I will show the finished product by Monday hopefully.
I took all the seat and back off and then spray painted it silver so far ;-).
If you can tell in the sun light. It was old and white
And now it's a shiny silver. LOVE
XOXO,
Jess
DIY no sew Burlap curtains
Hellllo! Well I wanted to show everyone how I made my Burlap curtains! It's super easy and a great way to brighten up a dark painted room. Our living room is very large and bright so I painted it a darker color. This Burlap I chose looks great if I don't say so myself ;-).
First of all when you go to your local fabric store, I use Joann's there are a TON of different choices for Burlap. So try to get all you need at one time off the same spool so it's the same color.
Supplies:
Burlap
Curtain rod clips (to hold up your curtain)
Stitch Witchery
Iron
Scissors
Wet wash cloth
What you need to do is measure how long you want your curtains then add at least an inch for a seem. Now take your Burlap and lay it on the ground. Choose the end you want to hang your curtain from. Hannah Montana the cat approves this side of my cut.
Now plug in your iron and while it's getting heated up wet your wash cloth. Make sure to set your iron on Wool. And make sure to laugh at your kitty when she gets to close to the iron...I swear they are worse then kids. I kid I kid ;-)
OK now it's time to use the awesome Stitch Witchery!!! Instead of sewing Burlap use this to stick the burlap fold down. (I would totally screw my sewing machine up if I tried sewing it LOL) You can get it just about anywhere. I have even seen it at HEB and the Dollar Store. Your going to lay it down all the way across the top of your curtain about an inch down. Then you will start folding over your burlap placing your wet washcloth over and then your iron over the wash cloth. Do not iron straight onto the Burlap. You will do it iron length by iron length until you are done. You'll probably need to re wet your washcloth at least once.
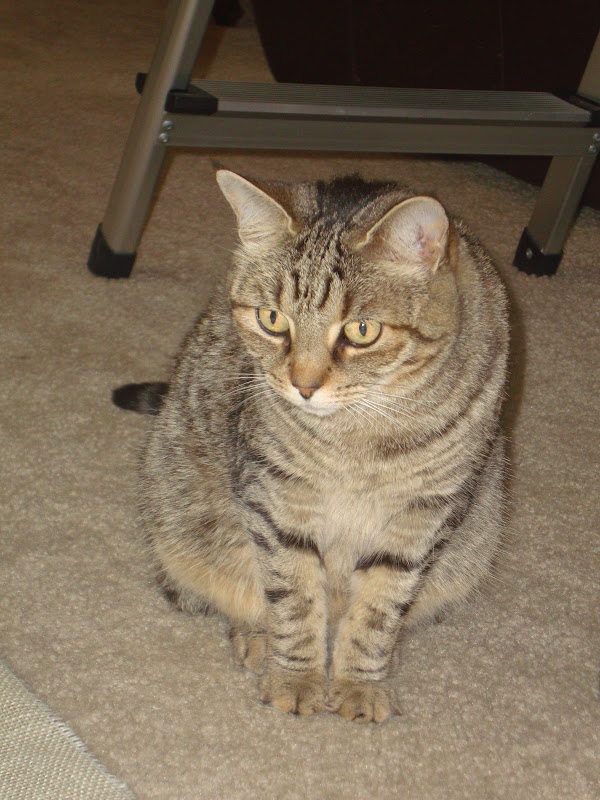
Jazzy is cautiously watching me and wondering what the HECK am I doing!
When your done your fold should be secured and curtain should be ready to hang!
I put my rings into my curtain rod first then spaced them out. Get the ones with the clips attached to the rings. I got mine on clearance at JCP for $2 a package!
I have two tips for you: #1 If you have cats kick them out for a little bit while doing this. apparently cats love Burlap. Or maybe my cats are just a pain in my behind ;-). And #2 when you are ironing and moving to the next spot. Be careful not to pick up the washcloth and let it land on your leg. OUCH!!!! It will be scalding! I have a lovely red mark on my calf as we speak.
Special thank you to Hannah and Jazzy for "supervising" this project
XOXO,
Jess
First of all when you go to your local fabric store, I use Joann's there are a TON of different choices for Burlap. So try to get all you need at one time off the same spool so it's the same color.
Supplies:
Burlap
Curtain rod clips (to hold up your curtain)
Stitch Witchery
Iron
Scissors
Wet wash cloth
What you need to do is measure how long you want your curtains then add at least an inch for a seem. Now take your Burlap and lay it on the ground. Choose the end you want to hang your curtain from. Hannah Montana the cat approves this side of my cut.
Now plug in your iron and while it's getting heated up wet your wash cloth. Make sure to set your iron on Wool. And make sure to laugh at your kitty when she gets to close to the iron...I swear they are worse then kids. I kid I kid ;-)
OK now it's time to use the awesome Stitch Witchery!!! Instead of sewing Burlap use this to stick the burlap fold down. (I would totally screw my sewing machine up if I tried sewing it LOL) You can get it just about anywhere. I have even seen it at HEB and the Dollar Store. Your going to lay it down all the way across the top of your curtain about an inch down. Then you will start folding over your burlap placing your wet washcloth over and then your iron over the wash cloth. Do not iron straight onto the Burlap. You will do it iron length by iron length until you are done. You'll probably need to re wet your washcloth at least once.
Jazzy is cautiously watching me and wondering what the HECK am I doing!
When your done your fold should be secured and curtain should be ready to hang!
I put my rings into my curtain rod first then spaced them out. Get the ones with the clips attached to the rings. I got mine on clearance at JCP for $2 a package!
I have two tips for you: #1 If you have cats kick them out for a little bit while doing this. apparently cats love Burlap. Or maybe my cats are just a pain in my behind ;-). And #2 when you are ironing and moving to the next spot. Be careful not to pick up the washcloth and let it land on your leg. OUCH!!!! It will be scalding! I have a lovely red mark on my calf as we speak.
Special thank you to Hannah and Jazzy for "supervising" this project
XOXO,
Jess
DIY Cable Spool Tables!
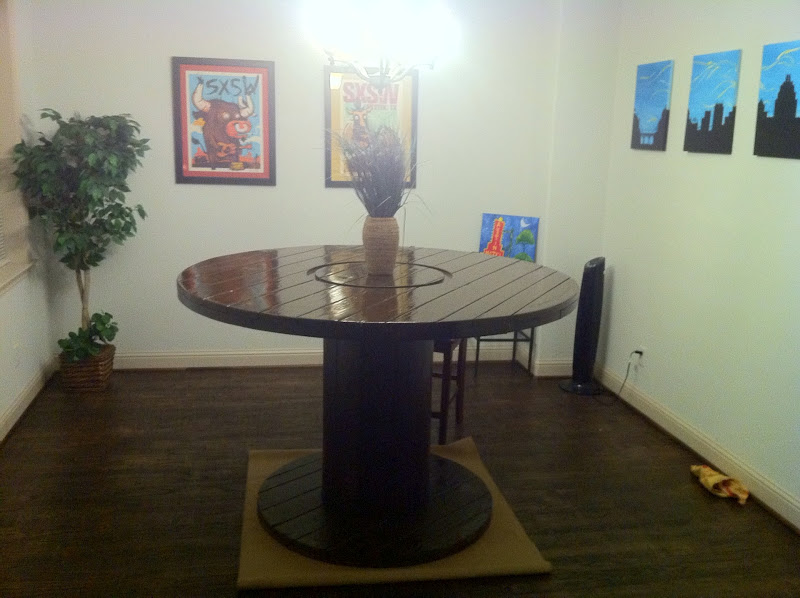
Check out these tables made by our friend Jon Percenti. These tables are custom made from Cable spools. Whether you like them rustic, stained or painted he can do it. See his work below, from work tables to kitchen table to patio table. These look so awesome!
To order a custom table for yourself please message me or find him on Facebook. He is in the Austin and Dallas area.
XOXO,
Jess
To order a custom table for yourself please message me or find him on Facebook. He is in the Austin and Dallas area.
XOXO,
Jess
Subscribe to:
Posts (Atom)