Check out this awesome craft idea I found from Joann Fabrics. Too cute! Going to pick up my supplies today! I'll document my creation and post it :-)
Ribbon Christmas Trees : christmas : holidays: winter : Shop Joann.com

Tuesday, December 6, 2011
Thursday, December 1, 2011
How to make a Christmas Tree Hair Clip
Good evening everyone! I got a Christmas Tree clip order today so I decided to show everyone how it is done. I may say so myself this is a perfect lil Christmas tree :-).
Supplies:
Green 3/8 inch ribbon for your tree. You could use a variation of colors of greens. Or maybe even green with polka dots?
Brown 3/8 inch ribbon for to line your clip
3/8 inch ribbon of your choice for your tree topper
Hot glue gun
Scissors
Lighter
Ruler

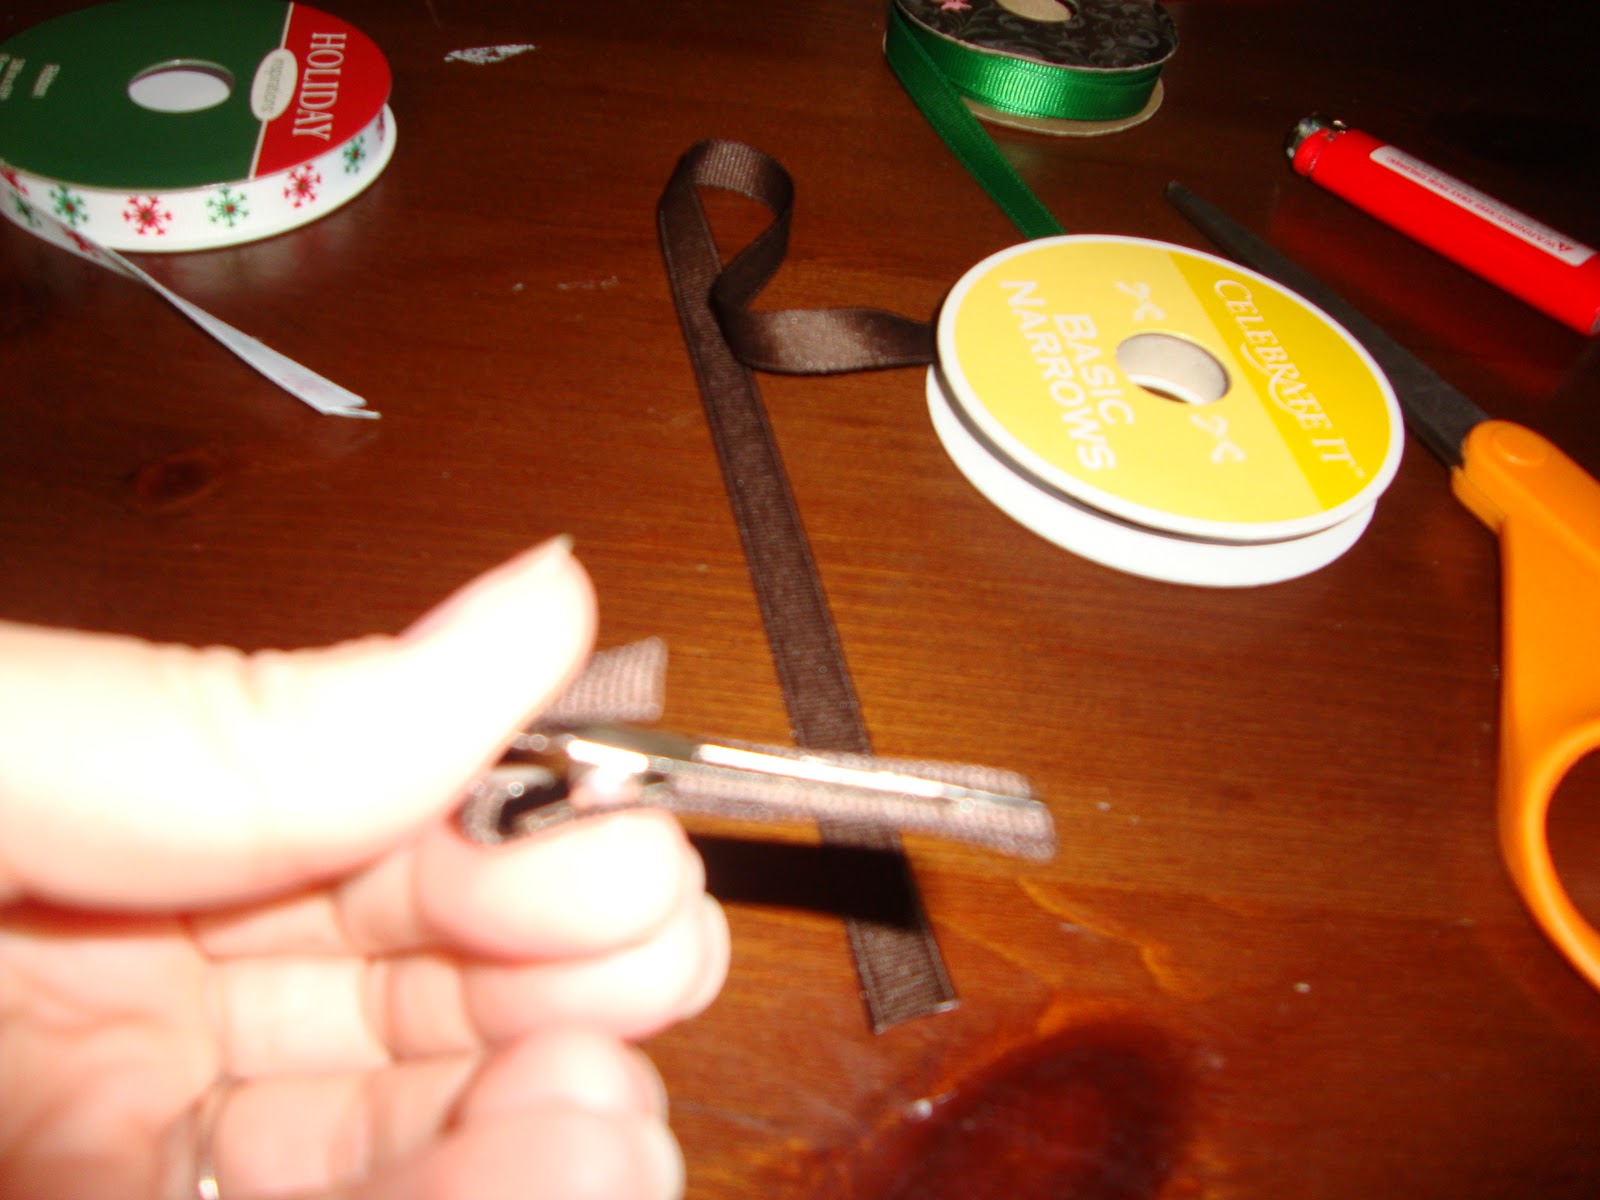
First line your your clip with the brown ribbon. Remember to heat seal the end of your ribbon you are starting with first. I leave the tail of the ribbon on the spool until I'm done lining the clip so I don't waste any ribbon.
 Flip your clip over and open it. Now start by putting hot glue on the bottom of the top of the clip. Put your ribbon on the clip.
 Then put hot glue along the top of the clip and wrap the ribbon around the top and over the side to the underneath of the bottom part of the clip. Now cut your ribbon about an inch down like this. Heat seal the end then glue it down.
 It's time to make your tree!!! Cut 7 2 inch pieces of green ribbon. Heat seal both ends of each one.
 Dab your hot glue at the end of each piece
 To make loops like these... Now place one piece at the bottom like this.Just dabbing a little hot glue on the ends.
 The next piece should over lap the first one like this.
 On this layer only you will have one loop in the middle like this
 Now make two more layers like this...I'm getting excited all over again HA!
 Now you get to make a pretty pretty bow for your topper. I chose a snow flake ribbon. I made the bow then cut the tails to the length I wanted them. I cut them in a slant and heat sealed the ends with my lighter.
 AWWW how CUTE! Now spray with your stiffener/water mix and it will be all ready in the morning!

Supplies:
Green 3/8 inch ribbon for your tree. You could use a variation of colors of greens. Or maybe even green with polka dots?
Brown 3/8 inch ribbon for to line your clip
3/8 inch ribbon of your choice for your tree topper
Hot glue gun
Scissors
Lighter
Ruler

First line your your clip with the brown ribbon. Remember to heat seal the end of your ribbon you are starting with first. I leave the tail of the ribbon on the spool until I'm done lining the clip so I don't waste any ribbon.


How to make a TuTu Elf Wreath
So I found some cute ideas on Pinterest but none of them had step by step instructions on HOW to make them. So here is how I decided to make my super cute TuTu Elf Wreath.
Supplies:
Wreath from any craft store. This one is a foam one, I recomend getting a straw one and keeping the plastic wrap that it comes in on.
1 roll of 11/2 Ribbon to wrap the wreath in, color of your choice. This wreath took an entire roll.
Stick pins
Tool I recommend buying the tool on the spools. For this wreath I used two colors. Your choice. But at lease buy 2 spools of each color just in case.
1 1/2 inch ribbon for the elf legs and leg warmers
Black Felt
Hot Glue Gun and Glue sticks
Any other goodies you would like to add to your elf :-)
I start off by wrapping my wreath with the ribbon. This way if you can see through a spot on of the tool all you will see is red. I pinned the first end to the wreath then started wrapping. When I got to the end I pinned the end into the wreath as well. Hidden nicely. (See my pretty new ORANGE craft chair ;-))


Subscribe to:
Posts (Atom)