
Now this dress I really did start off with a tutorial from YouTube but like most all of my projects I quickly veer-off into my own idea.
Supplies:
Fabric of your choice, at least a quarter to work with
Thread
stick pins
Sewing machine
needle
Coordinating ribbon
Any other coordinating extra's you want to add on.
Iron
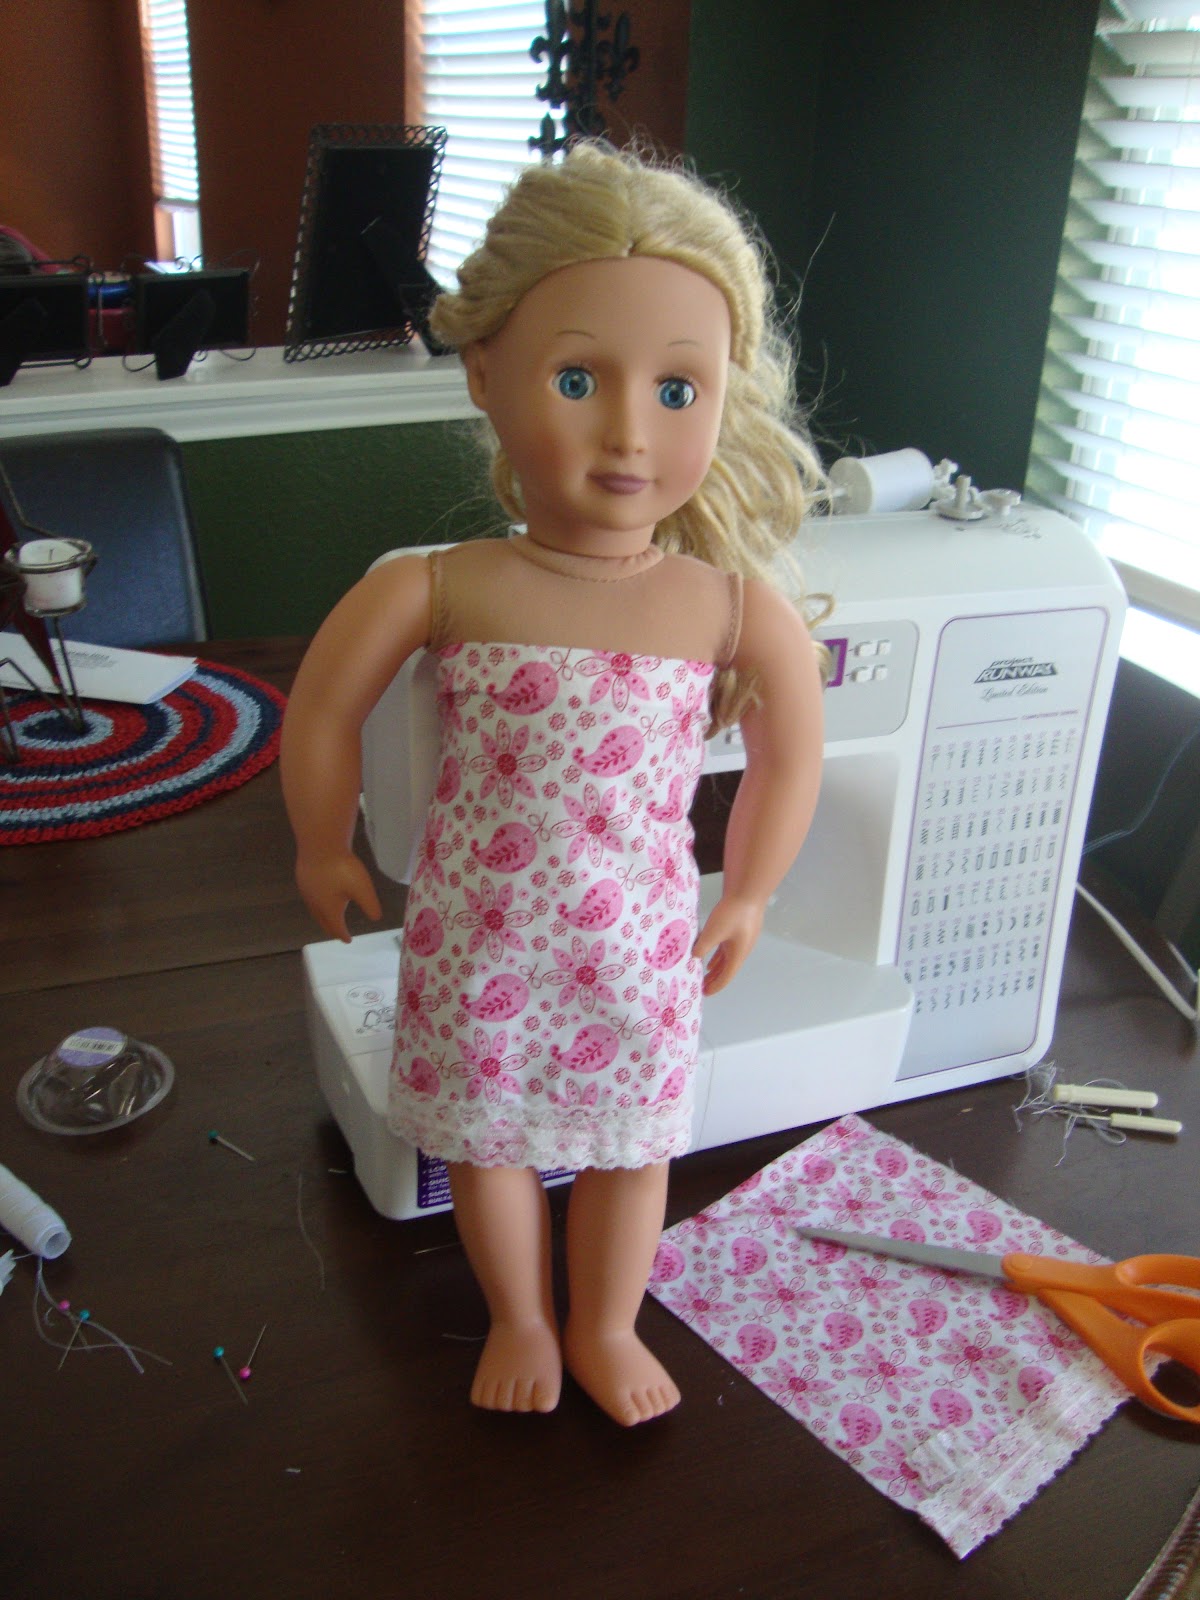
Got ahead and turn on your iron so it's getting hot. Now I cut a square that was 10x20. You can make it shorter if you want. I'm measuring it to fit an Our Generation doll. Which is about the same size as a American Doll. Now the width wise will give you extra so you can either measure around your doll and cut or use my measurements and you can use the left over for a cute purse like I did! :-).


Now you need to iron your seems down. Put your fabric wrong side up and fold in your fabric on both of the longer sides. I folded twice to make it look a little nicer and iron down flat. Then put your pins in to hold your fold in place.


Time to sew baby! Leave your regular setting on your machine, nothing needs to be changed. You can use a simple straight stitch. Sew the top fold, cut your thread. Then place your fabric back on your machine and sew the bottom fold.


Place your fabric around your doll and put a pin where you want to sew your dress together. Make sure it's not too tight so your little one can slip it off and on. You will need to turn your fabric wrong side out and begin to sew your seem. Again very simple straight stitch is all that is needed. Once you sew your seem then cut off the excess fabric and put it to the side. Grab your ribbon you want to use for your dress straps, your needle and thread. I chose to sew the straps on by hand since it's such small ribbon I'm using.


XOXO,
Jess
No comments:
Post a Comment